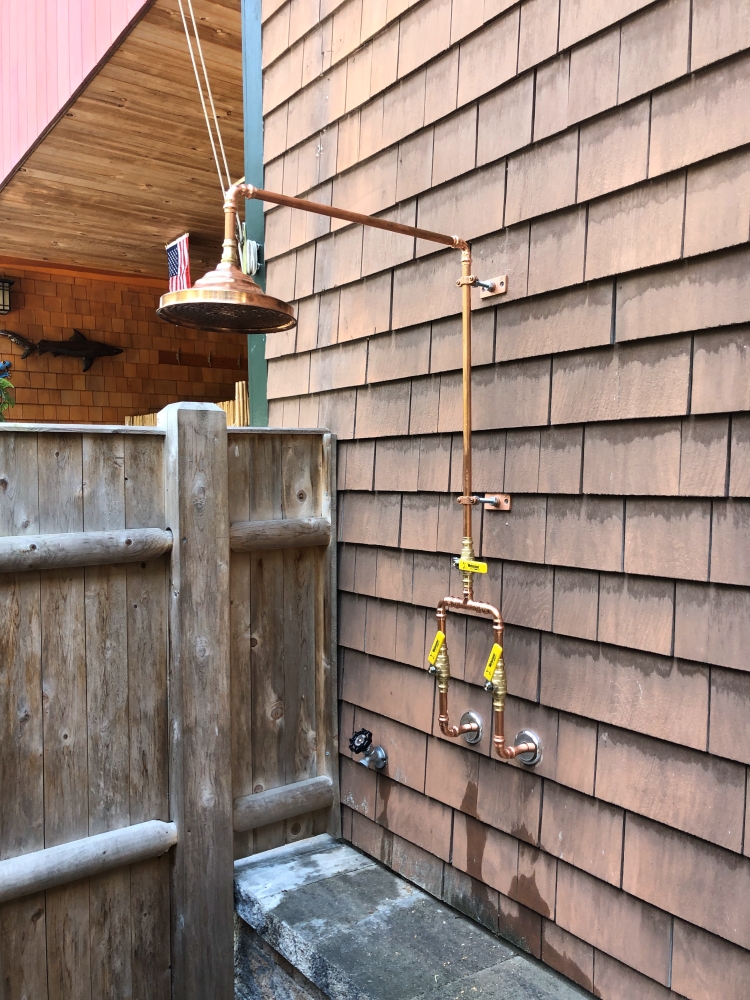
Imagine stepping outside on a warm summer day, rinsing off after a dip in the pool or a day at the beach. An outdoor shower can add convenience, style, and value to your home. At Trademark Plumbing & Heating, we’ve helped many homeowners install beautiful, functional outdoor showers, and we can help you do the same. Whether you want to rinse off after a swim or just enjoy the luxury of an outdoor bathing space, here’s what you need to know about installing an outdoor shower.
Why Install an Outdoor Shower?
There are plenty of benefits to having an outdoor shower at your home:
- Convenience: Rinsing off dirt, sand, or chlorine from your skin before heading inside keeps your home cleaner and reduces wear and tear on your indoor plumbing.
- Adds Value: An outdoor shower is a desirable feature that adds aesthetic appeal and boosts your home’s value — especially in homes near the beach or with pools.
- Cooling Off: In warmer months, an outdoor shower offers a refreshing, quick way to cool down.
- Versatile Uses: Aside from personal use, outdoor showers are great for rinsing pets, cleaning outdoor gear, or washing off gardening dirt.
What You Need to Know Before Installing an Outdoor Shower
Before we dive into the installation process, here are a few things to consider:
1. Location
Choosing the right location is crucial. Ideally, your outdoor shower should be close to an existing plumbing line, such as near your pool or garden, or against a wall that shares a water supply with an interior bathroom or kitchen. This will reduce installation costs and make it easier to hook up water lines.
It’s also a good idea to consider privacy. Many homeowners opt to install partial enclosures like wooden slats or lattice screens to create a private space while maintaining the outdoor experience.
2. Drainage
Proper drainage is essential for an outdoor shower. Without it, you could end up with pooling water, which can damage your foundation or create a muddy mess in your yard. Drainage options include:
- Dry well: A pit filled with gravel that collects and absorbs water into the soil.
- French drain: A sloped trench filled with gravel and pipe to direct water away from the area.
- Tied into existing plumbing: In more elaborate setups, the drainage system can be connected to your home’s existing waste line.
3. Water Supply: Hot or Cold?
While a cold-water shower may be perfect for cooling off on hot days, adding hot water can extend your outdoor shower’s usability throughout the year. Installing both hot and cold water lines ensures a comfortable shower, even when temperatures drop.
The Installation Process
 At Trademark Plumbing & Heating, we handle every aspect of installing your outdoor shower, from plumbing connections to final touches. Here’s what our installation process looks like:
Step 1: Planning and Design
First, we’ll consult with you on the best location, water supply, and design for your shower. Do you prefer a simple, wall-mounted showerhead, or would you like something more luxurious, like a rain shower or handheld sprayer? We’ll also discuss privacy screens, enclosures, and drainage solutions that fit your yard’s layout.
Step 2: Water Line Installation
Once we’ve settled on the design, we’ll install the necessary plumbing. For homes with a nearby bathroom, we can tap into the hot and cold water supply lines. If your shower location is further away from the house, we’ll extend the water lines accordingly and ensure that they are insulated to prevent freezing in colder weather.
Step 3: Shower Setup
After the plumbing is set, we’ll install your chosen shower fixture. Outdoor showers typically come in two styles:
- Wall-Mounted Showers: These are installed directly on the exterior wall of your home and are ideal for limited spaces.
- Freestanding Showers: These are installed away from the home, often with a standalone shower enclosure.
Step 4: Drainage Solution
Next, we’ll ensure that your shower has proper drainage. Depending on the location and soil conditions, we can install a dry well, French drain, or tie the drainage into your existing plumbing system. We’ll make sure that water is safely directed away from your home’s foundation.
Step 5: Final Touches
Once the shower is installed and fully operational, we can help with the finishing touches like adding enclosures, decorative tiling, or non-slip flooring materials. The result is a fully functional, aesthetically pleasing outdoor shower that meets your needs.
Maintenance Tips for Your Outdoor Shower
To keep your outdoor shower in top condition, follow these simple maintenance tips:
- Winterize your shower if you live in a region with freezing temperatures by draining the water lines and turning off the supply.
- Clean the showerhead regularly to prevent mineral buildup, especially if you live in an area with hard water.
- Inspect for leaks occasionally to ensure that pipes and fixtures remain in good condition.
Why Choose Trademark Plumbing & Heating?
At Trademark Plumbing & Heating, we bring our years of experience and attention to detail to every outdoor shower installation. Our team ensures that your outdoor shower is not only functional and durable but also adds to the beauty of your outdoor space. From the initial design to the final touches, we handle every step with care, so you can enjoy the convenience and luxury of your new outdoor shower for years to come.
Ready to Install Your Outdoor Shower?
If you’re ready to add this practical and luxurious feature to your home, contact us today! At Trademark Plumbing & Heating, we’re here to help make your outdoor shower dreams a reality.

